
Raspberry Pi

It’s Christmas time, which means that there is a pause from school and a pause from work as well (the office is closed). So I finally had enough time to set up the Raspberry Pi board I ordered few weeks ago. And it’s fantastic! I was really surprised how easy it was to set it up and get everything to work properly. Due to its popularity there are guides and howtos everywhere.
I would like to use mine as a sort of all-around home server for backups, file sharing, and git for now. But there is so much more you can do with the Pi :). The best thing, at least for the purposes I plan to use mine for, is its compactness and the most importantly complete lack of any noisy mechanical parts, such as fans or hard drives. That’s the killer feature for me. I mean, I sure have a drawer full of old hardware that would make a machine usable for just copying backups. Unfortunately, I don’t have a basement with ethernet and I wouldn’t survive with a cluster of coolers going 24/7 in my apartment. Additionally it consumes much less power than a regular PC does.
Get One
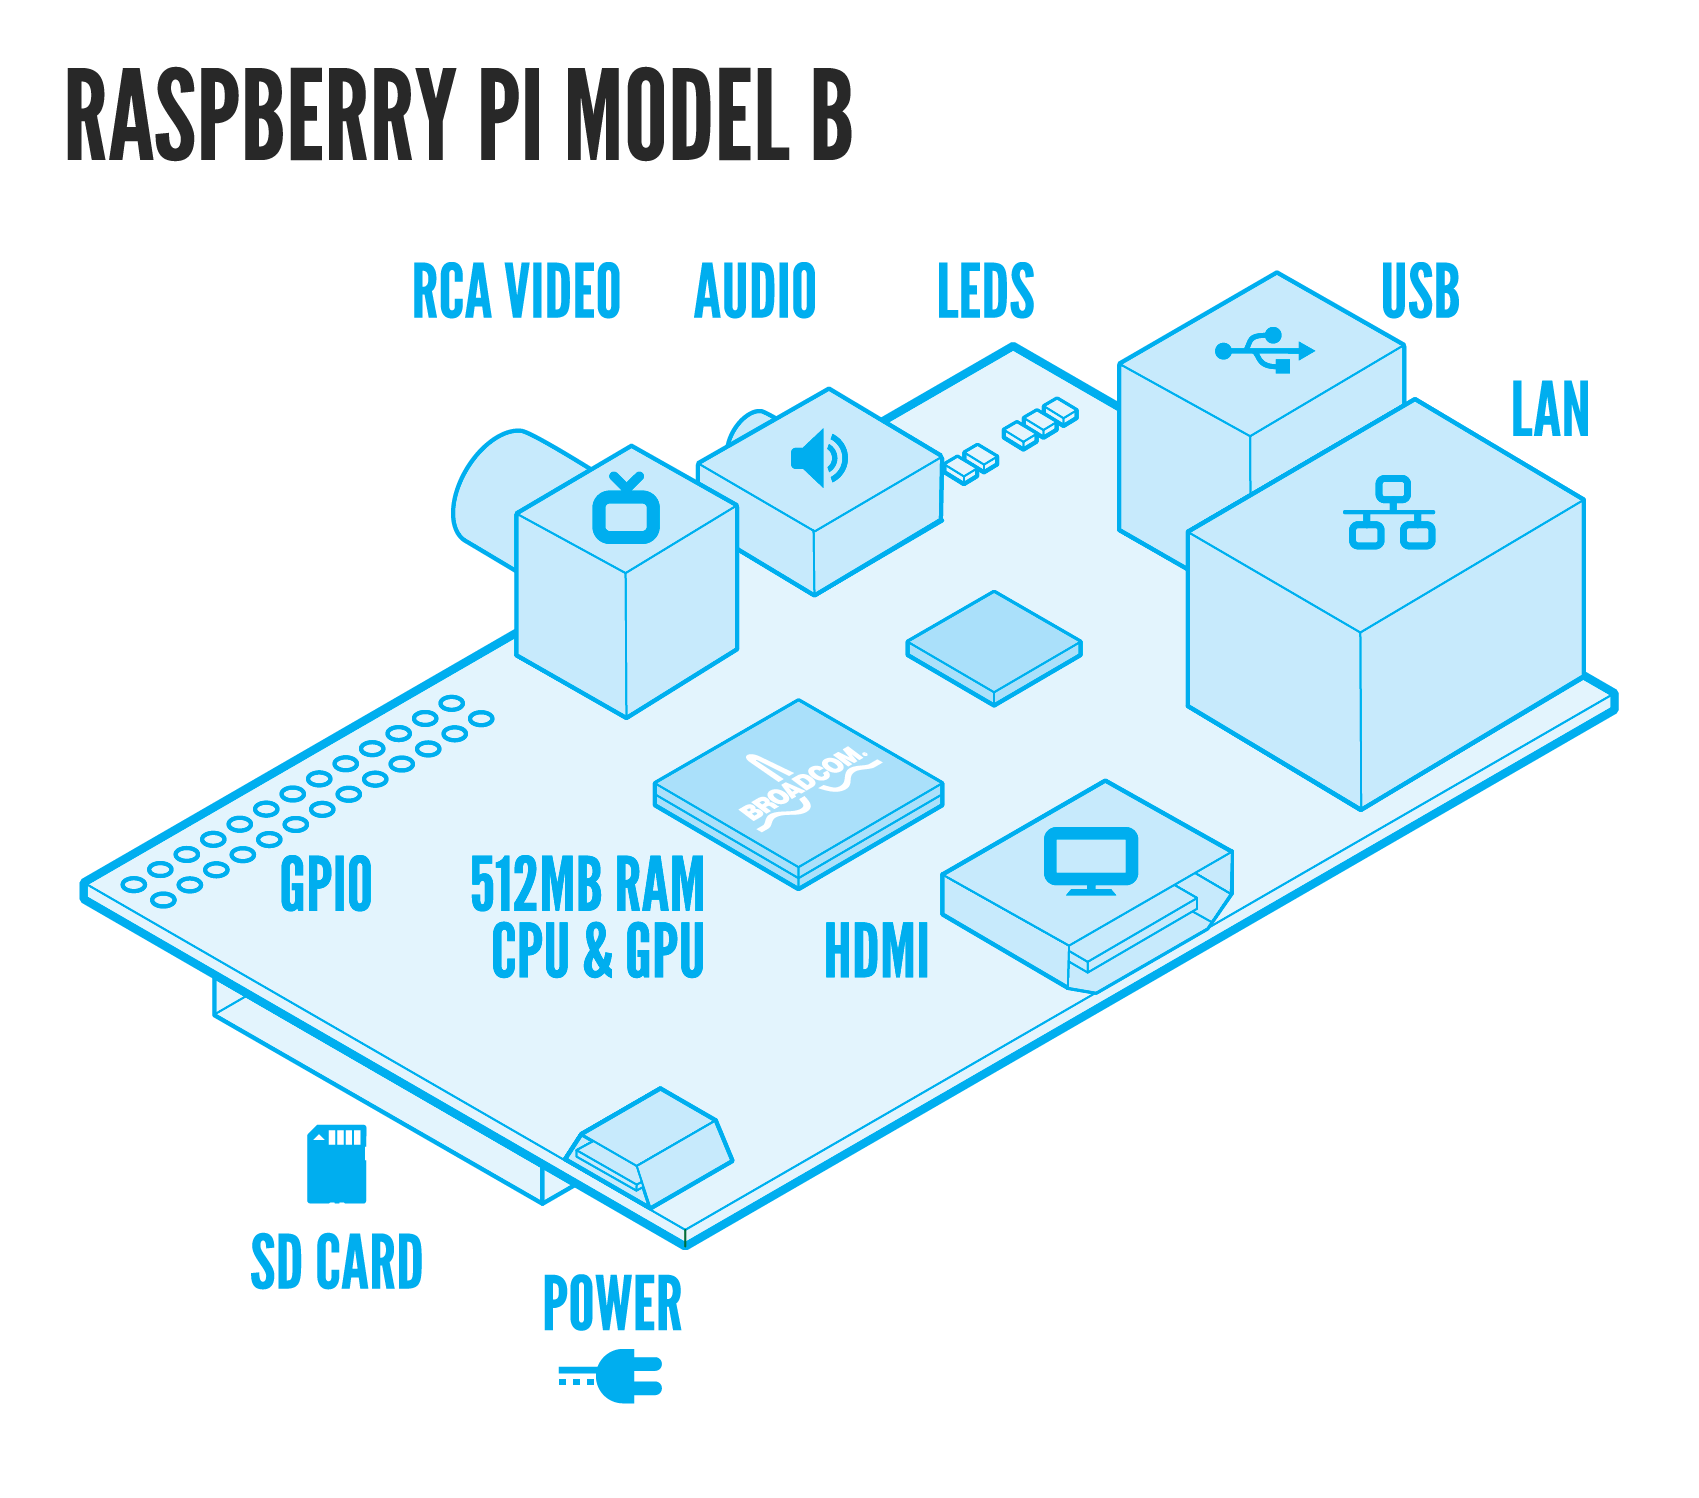
Two models of Raspberry Pi exist at the moment. Model A and B. The most notable differences between the two are the amount of memory (model B has 512MB while model A only 256MB), B also has one additional USB port and an ethernet (RJ-45). The full spec and comparison of the two is available on Wikipedia. I don’t know if model A is available already, but even if it was, go for model B. The ethernet port and an additional USB make a big difference. You don’t have to bother to buy an external USB hub or ethernet dongle.
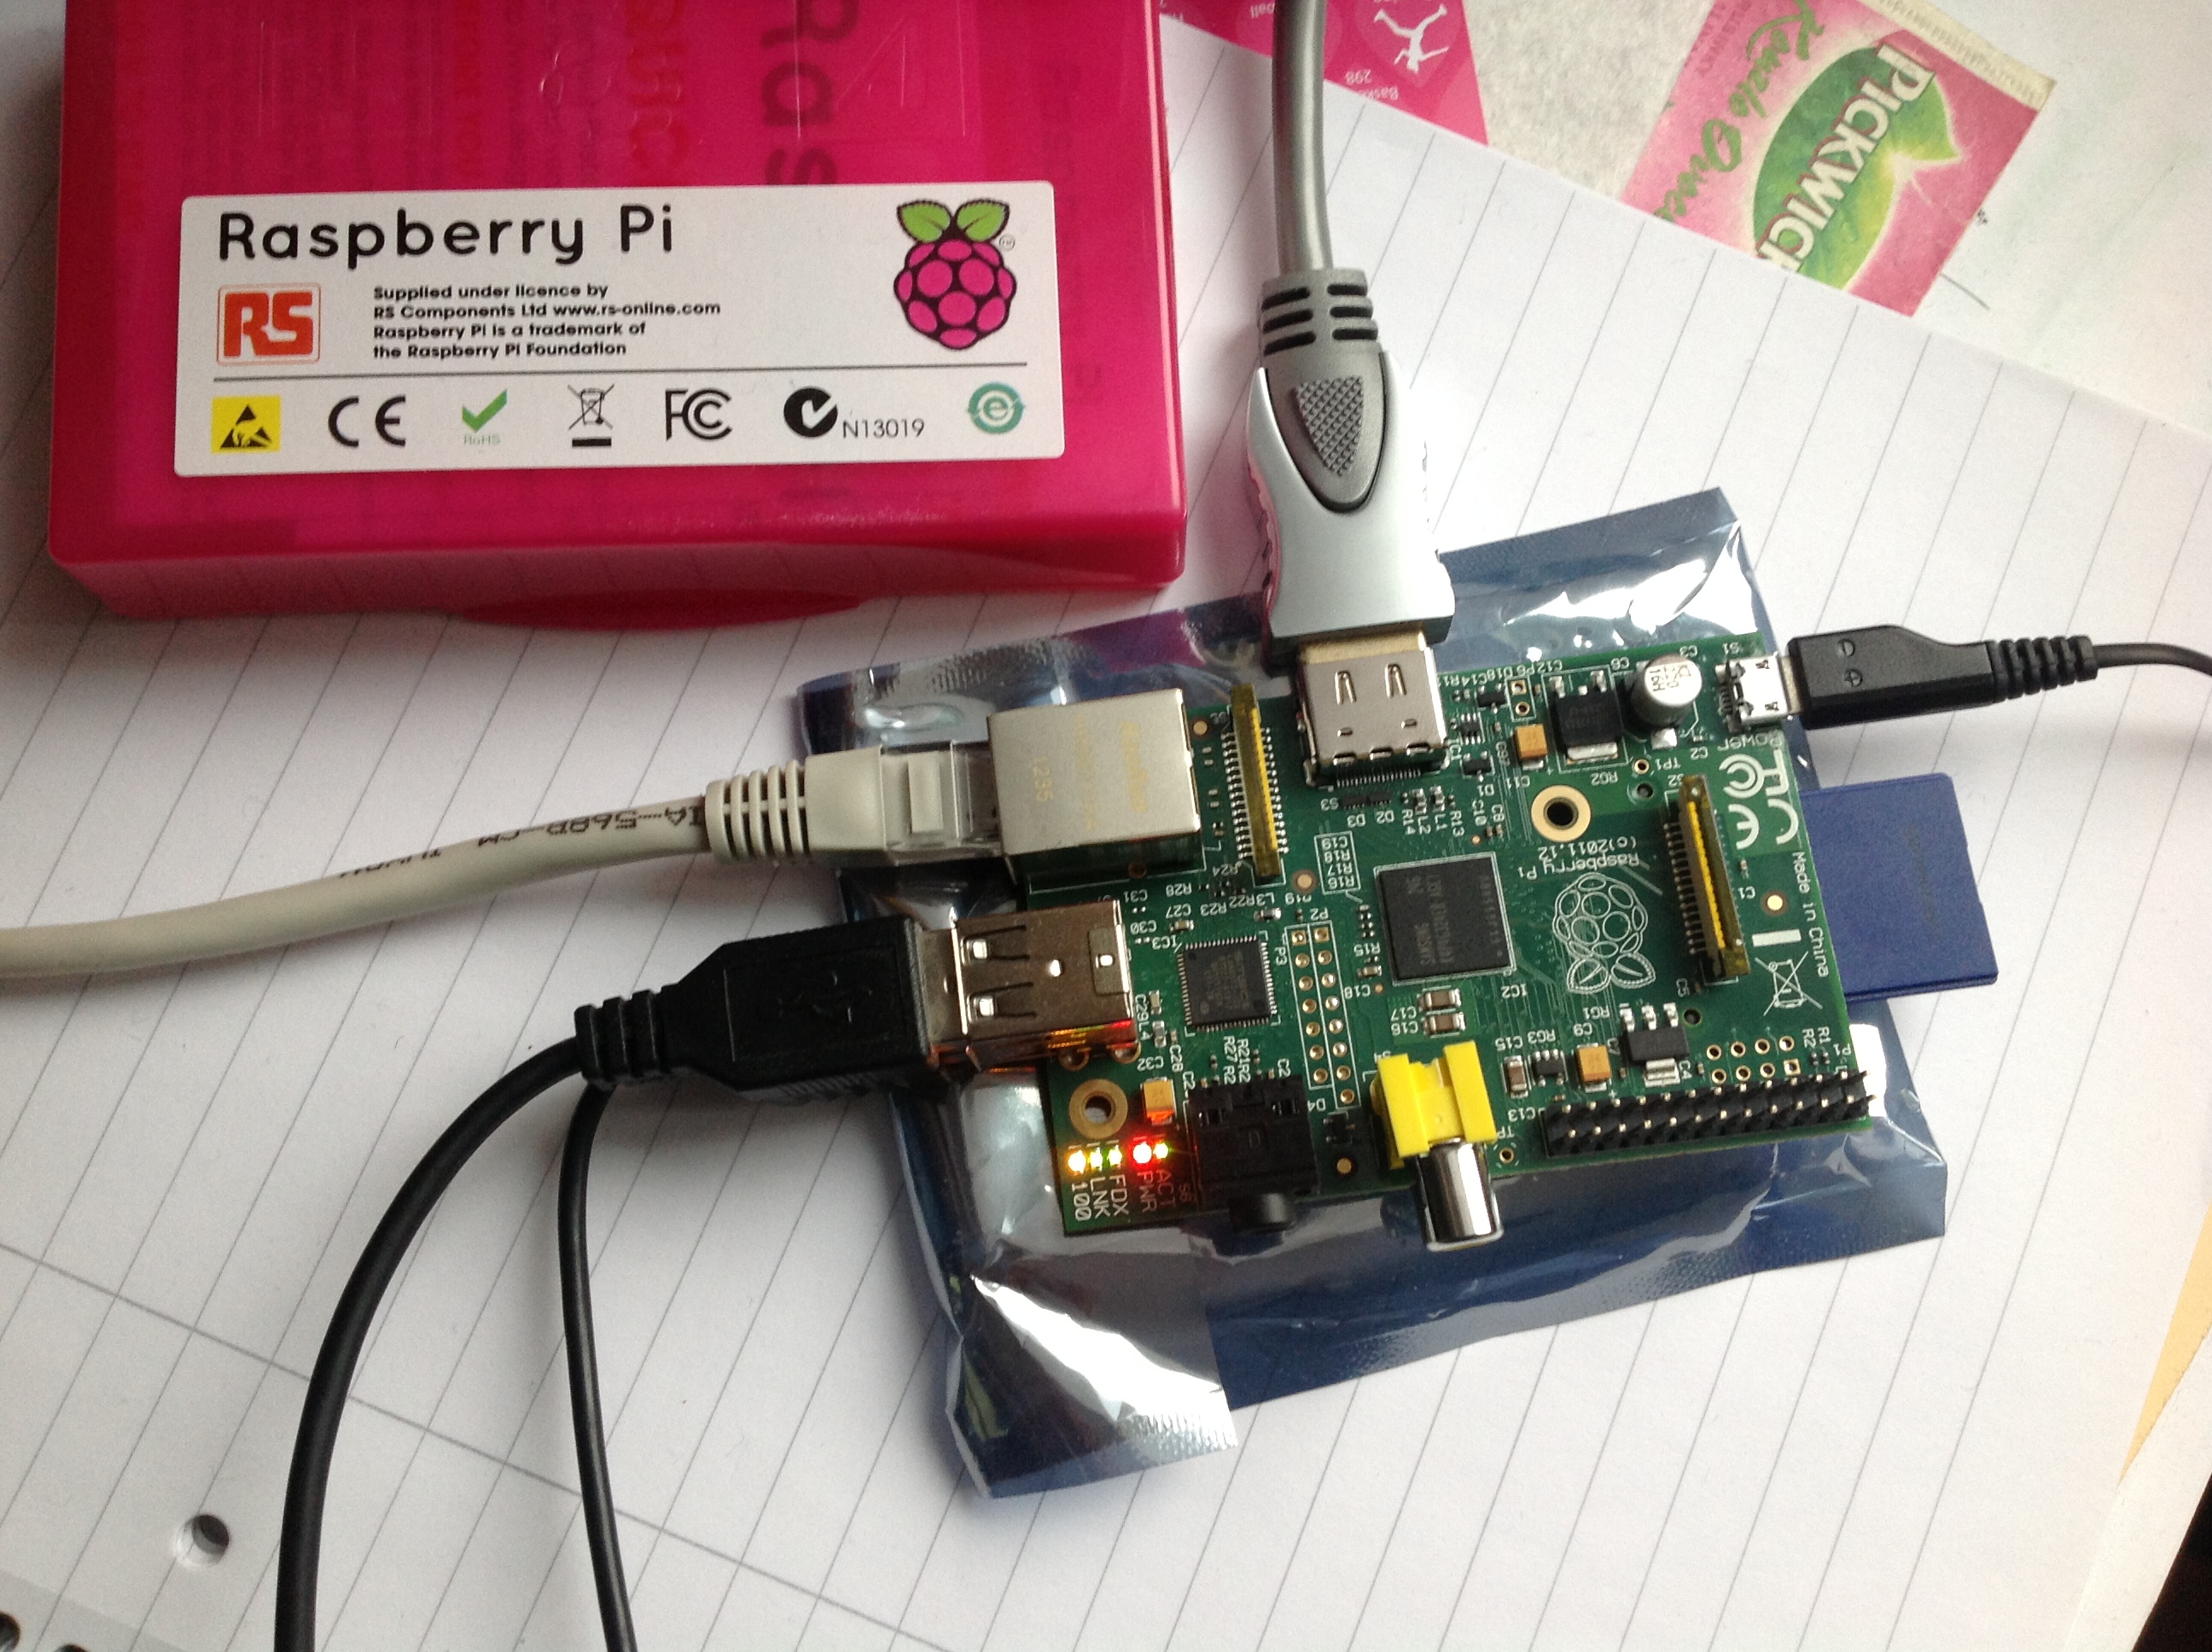
As far as I know, you can get this board from two manufacturers — RS and Farnell. I got mine from RS, because Farnell stopped shipping these things to Czech Republic just a couple of days before I ordered it. My brother has his one from Farnell and they are almost identical, with only few cosmetic differences. The prices are also about the same. From RS it cost me roughly £31 with shipping to Czech Republic included.
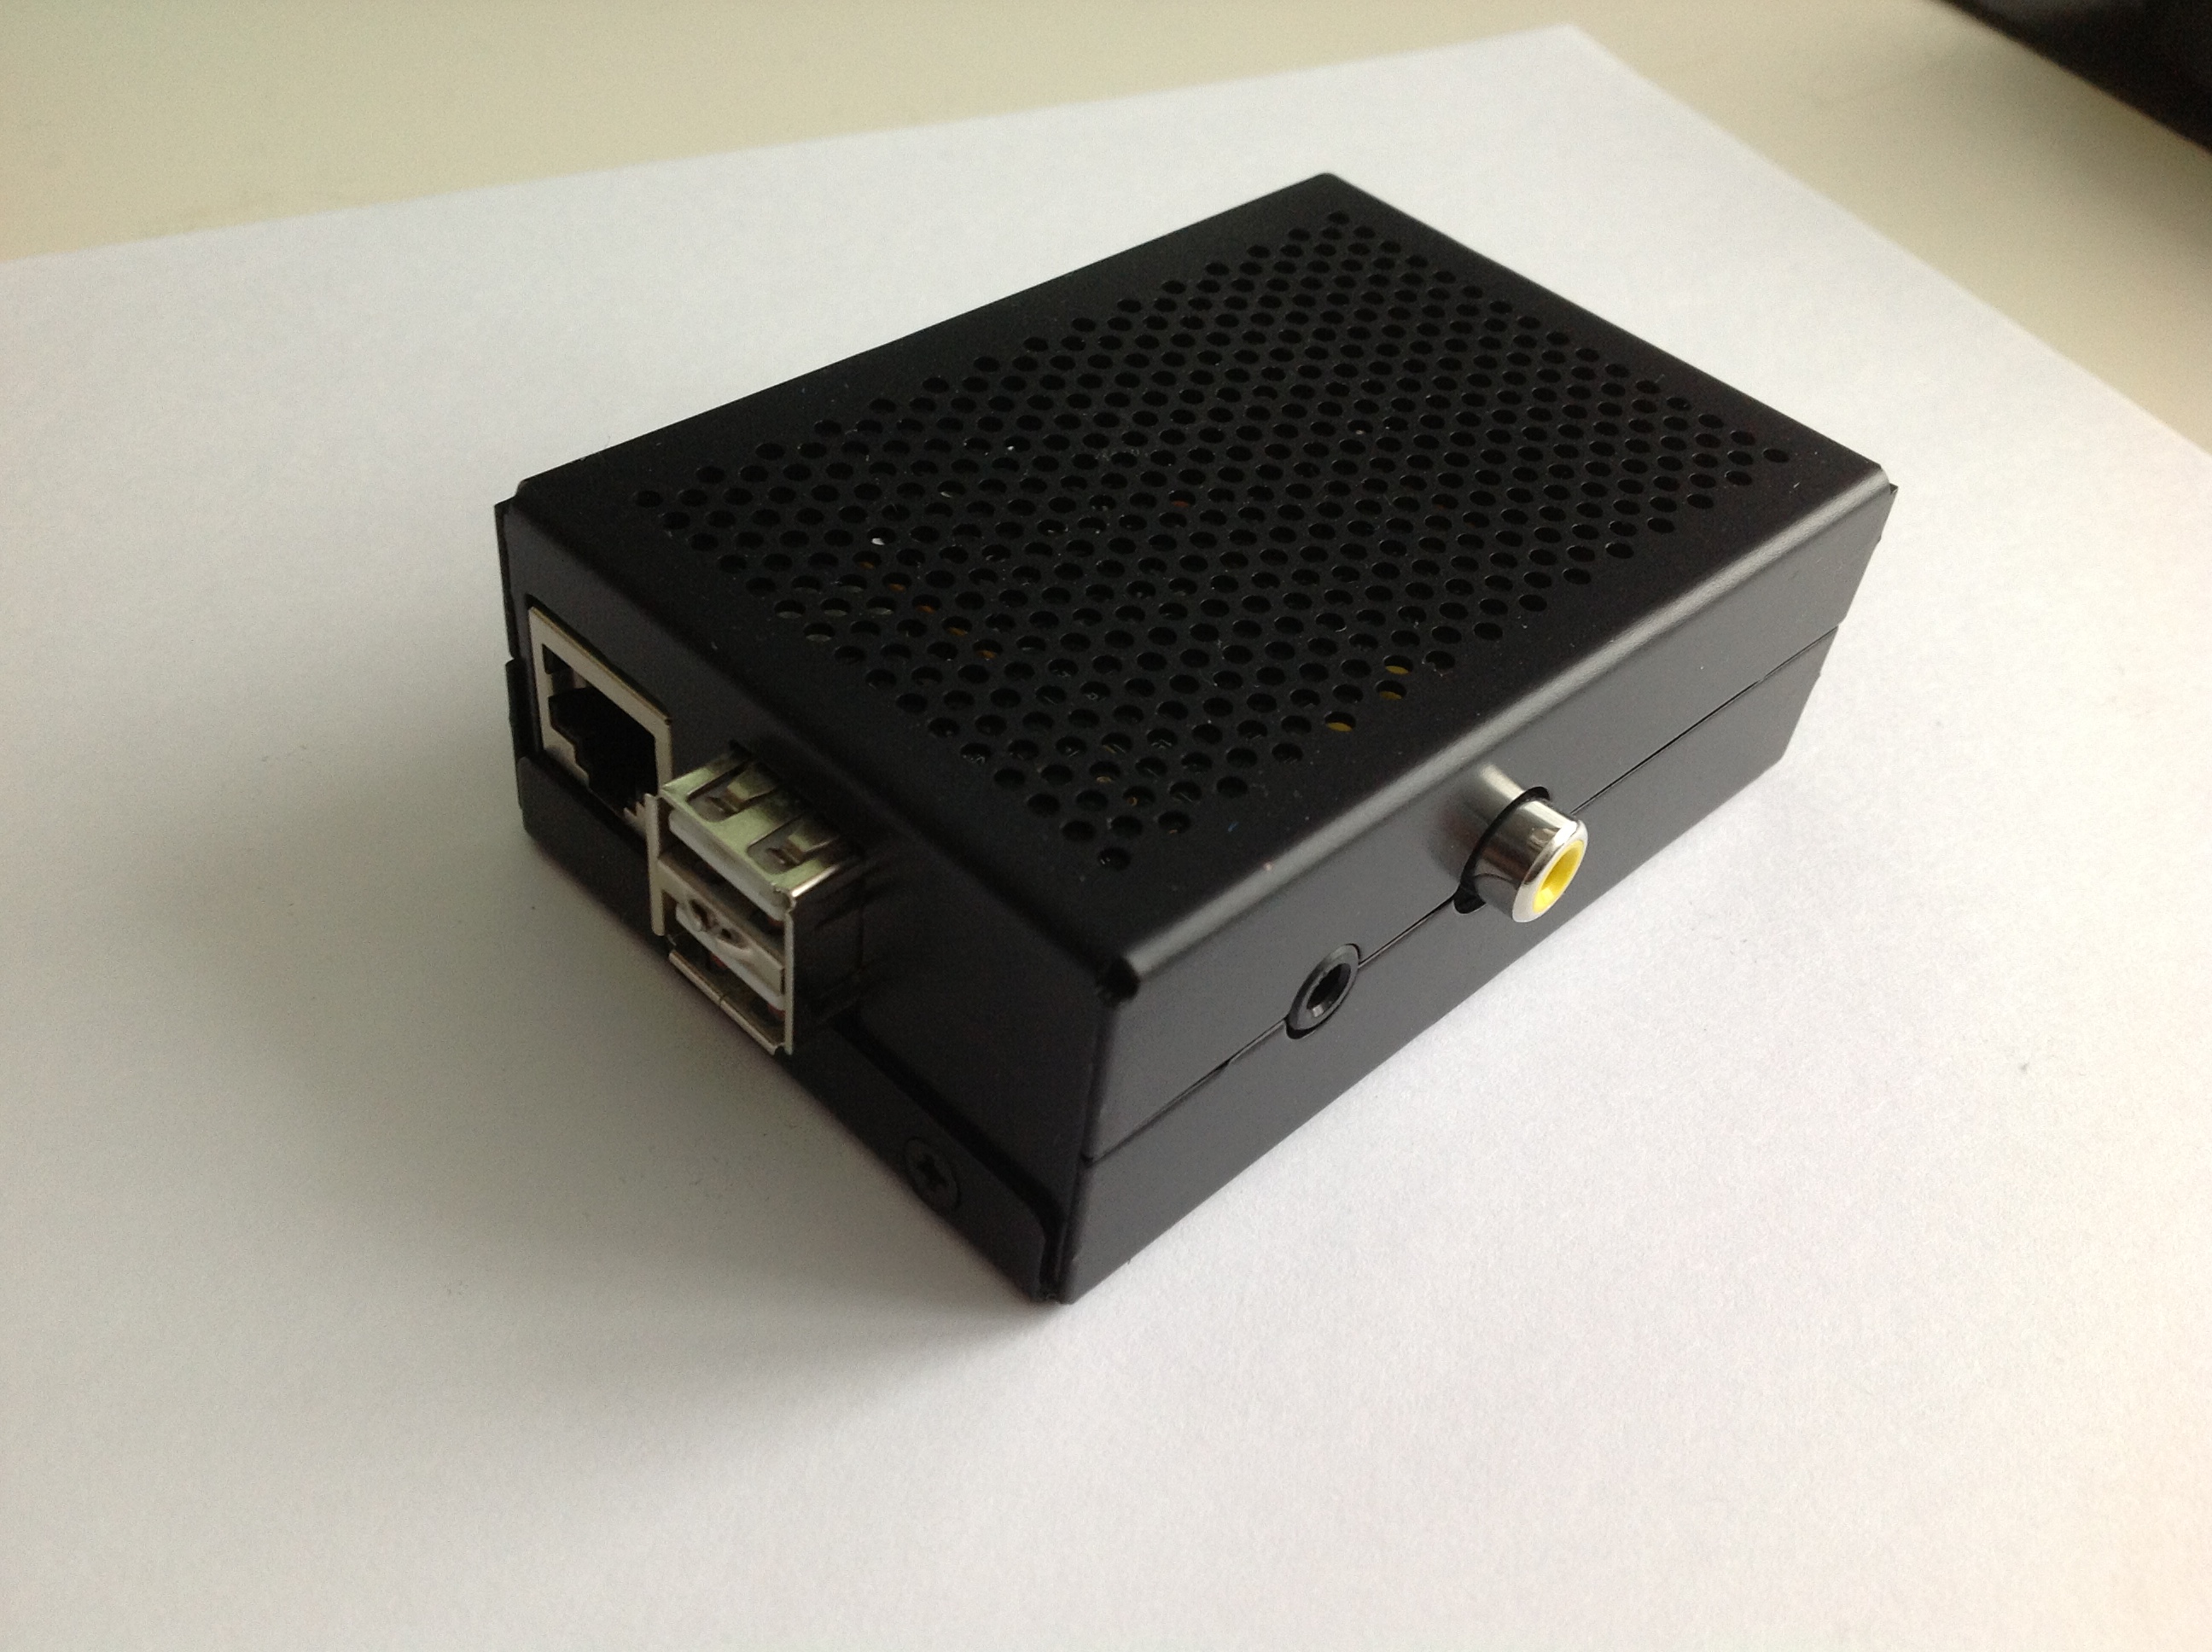
However this is not everything you’ll need to set it up. No accessories is supplied with the board. You will need a power supply, a SDHC card to boot from, possibly a HDMI to DVI cable to plug it into a display, an ethernet cable to connect it to the network. These things cost me additional £17. I purchased a Samsung phone charger with micro-usb and a 16GB Class10 SDHC card from ADATA. Pay attention to what you’re buying, because not everything will be compatible with the Pi. There is a neat list of verified peripherals on the elinux.com wiki. You can have a problem with a power supply that is not able to provide current at least of 0.7A. There have been some problems with certain SD cards, so make sure to check the list. Raspberry Pi also comes without a case, so it might be a good idea to get one. There is a ton of cases available from different vendors. I liked this metal one.
I use the board without a head and access it over ssh, but you might need a display, a keyboard, and a mouse to handle the installation - for instance to click through some settings or install sshd. It works really nice with a monitor as well. I’m running Fedora 17 Raspberry Pi Remix on it at the moment, which comes with XFCE.
Set It Up
As I said earlier, it is very easy to start with Raspberry Pi. Basically, all you need to do is to prepare the SD card. You need to copy one of the prepared OS images to the card and that’s it. The hardest thing is probably choosing the distro. You have a number of options available. There is, again, a list of available distributions on elinux.com. The “default” is Raspbian, which is a port of Debian Wheezy. I myself am used to Fedora, so I started with that one. Arch is also available, Gentoo ARM, OpenWrt or even Android. And the best thing is you can experiment with those really easily. If you have a spare SD card, you can reinstall your board as often as you want :).
To install Raspberry Pi on Linux, all you will need is the OS image and the
dd command. You will copy the image to the card and that’s it. Note that the
following command doesn’t reference a partition device (e.g. /dev/sde1),
instead it uses directly the card device (/dev/sde).
dd bs=1M if=/path/to/rpfr-17-xfce-r2.img of=/dev/sdeWhen this is done, you can plug everything in and try it out. Just make sure you have connected everything before, you plug in the power. Raspberry Pi doesn’t have an off switch, so it will boot right away. If you encounter any problems, make sure to check the beginners guide and the troubleshooting advice.